

So, now that life is getting a little more normal, I can get to the long-awaited wish-list (technically a to-do list, but a fun one at least). The first thing I wanted to tackle was the living room's built-in shelves. They were a little disorganized and still covered with baby cards. That lead to another shelf that needed re-organization. Which turned my attention to the abundance of framed photos I'd crammed on it (rather than hung) due to the onset of nursery mania last fall (read all about that here). After said frames were in the middle of the living room floor for a couple of days, I finally said "enough!" You're going onto the wall whether you like it or not!
And this is the wall- located at the end of our long hall, which opens into the guest bathroom, guest room, nursery, and laundry room/master suite. As you see, it was completely devoid. Of anything.

But not for much longer! I originally thought I'd hang all of the frames in the living room, but I'm trying to simplify that space, so this was the next best spot.
I saw a really neat method for frame hanging on one of my favorite blogs and decided to try it out. Usually I just eyeball where I want my item, draw a rough mark in the wall where I think I need a nail, and go for it. That works alright, buuut I tend to end up with more holes in the wall than necessary since it's guesswork.
So, here's my version of this super neat paper-guide frame-hanging method: First I arranged the pictures on the floor. A little trial and error, and I figured out what I liked. (I used the top of the rug as a straight-edge to work from.)

As for the necessary supplies, I already had everything I needed. Just the basics- nails, hammer, pencil, tape, leveler, newspaper (I used leftover packing paper- army families, you know what this is, ha!) Oh and scissors (not shown here).

Then I traced each frame, and cut the tracings out. They'll be the guides for hanging.


Once cut, I placed the paper on the back side of the frame so that I could mark where the nail would need to go- thus making a guide that can taped to the wall in place of the actual frame, in order to know exactly where to drive the nail in.

Here's the hanging bracket- this is what I need to "record" the location of on the paper.

After the cut-out was squared up on the back of the frame, I used my pencil to "shade" over the bracket.

Here's another example:

Now we're ready to hang the paper guides! But first I grabbed this vase from our top landing to place here instead.


Next, I taped the paper guides to the wall in the exact spots and according to the exact layout that I planned at the beginning.

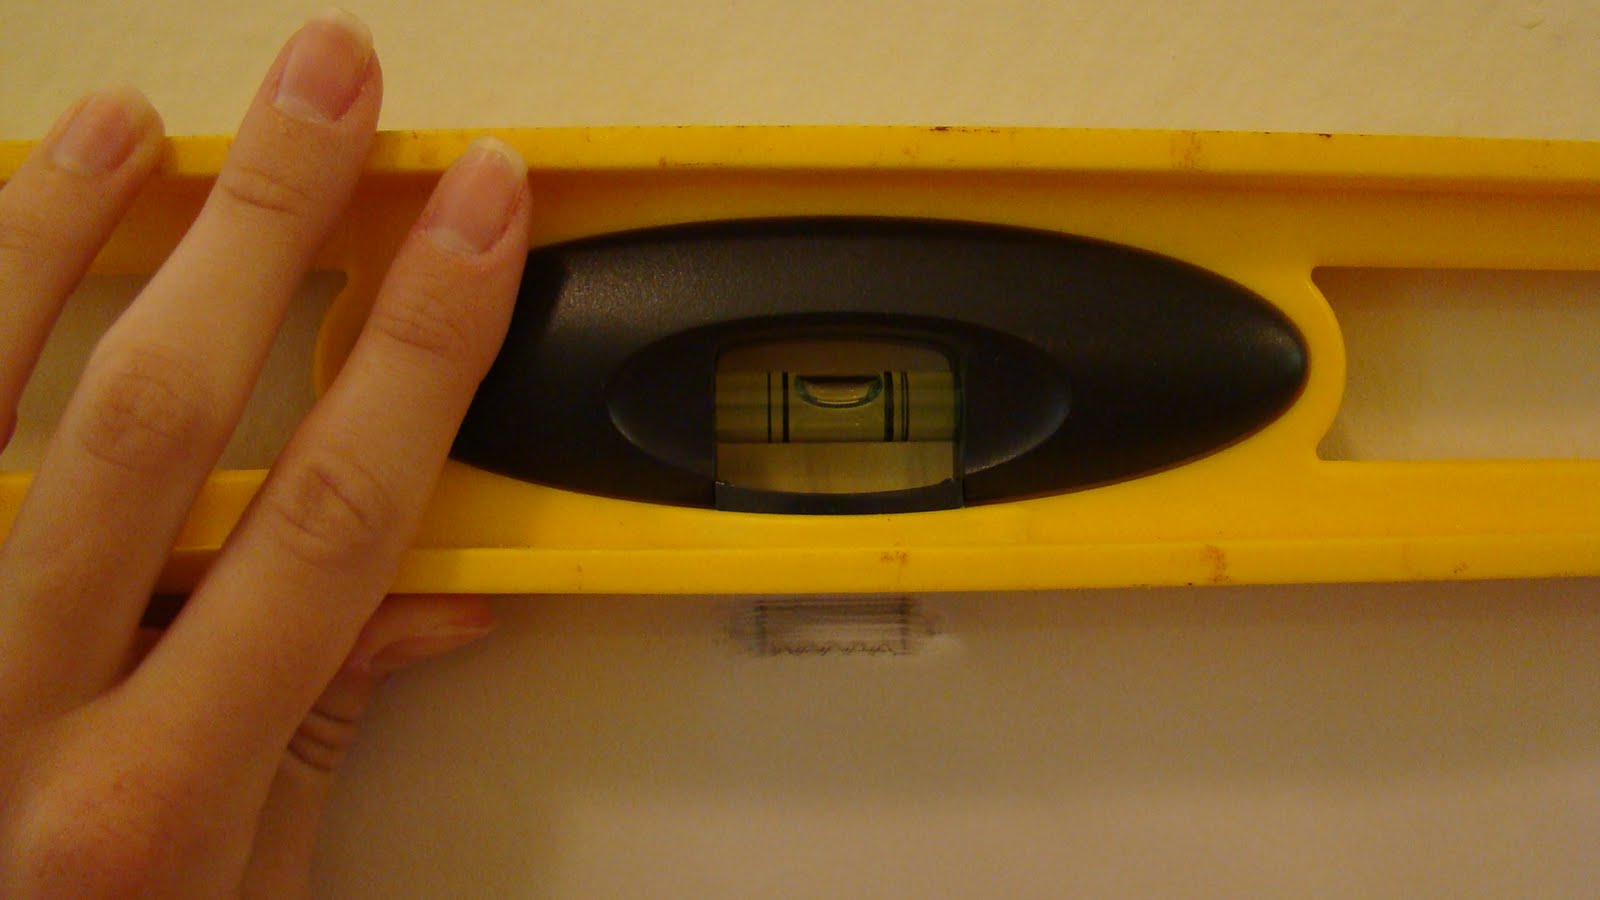
A leveler was handy for this step, as I needed to make sure the guides were hanging straight and that they all lined up with each other.
Once I was satisfied with the paper-guide arrangement, out came the nails! Notice I hammered this one in a tad to the left of the "x". Even with all of these guides, I had to do a little eye-ball adjusting at the end. (I realized that I had a little more empty space to the left of the arrangement than the right, so each piece had to be moved slightly to the left. It wasn't worth moving all of the paper.)

Alright, now the really fun part- hanging the darn things!

Woo-hoo!


You probably noticed the odd, empty space in the arrangement. I'm not entirely sure what's going to go there yet, but I'm thinking a candle sconce. I'll have to keep my eyes open for a good deal on something cute. Or maybe even something not-so-cute but spray paint worthy.

You might also be wondering what Asher was doing during all of this frame hanging madness. He was hanging out in the front-carrier getting a first hand look at the whole process!

My only hang-up (pun intended, hehe) was this one nail didn't want to go into the wall any further. The old concrete and plaster walls make for spotty success when it comes to hanging anything. Some nails go right in, others don't, and there's no way to tell which it'll be till you try. So I'll have to hunt down a shorter nail for this guy to hang from. Until then, it'll just have to jut out a tad bit.

Let's talk $. The cost of this project was exactly zero dollars. (Obviously we paid for the frames, but it's been years since buying them so it doesn't really count at this point in time.) And this is one of my very favorite things; to take what you already have and do something new with it, just like this little hanging project. When there's no spending necessary, it's not only fun, but guilt-free. And isn't it exciting to see what you can do with what you already own?
What about you guys? Tackle any long-put-off projects around the house lately?
P.S. Don't miss the verse at the end of the post!
Like it? Share it!
- - - - - - - - - - - - - - - - -
And whatever you do in word or deed, do all in the name of the Lord Jesus, giving thanks to God the Father through Him.
Colossians 3:17


2 comments:
Sarah, love this method! I have a bunch of frames I've been meaning to spray paint and fill, and this may have just given me the inspiration I need! :)
Hey Jessica! Great to hear from you! Let me know how it goes and post some pics of the end result, I'd love to see it. I also need to do some frame spray-painting and filling, maybe you'll inspire me to get to that :) Thanks for commenting!
Post a Comment