Showing posts with label paint. Show all posts

The Firebird Goes Green

This guy is a little on the wild side. He reminds me of a rooster, but in a Lord of the Rings or Harry Potter kind of way. Probably because he's actually a firebird. But we're going to call him a rooster anyway. And since roosters tend to hang out in kitchens and ours was completely void of one, I couldn't help but imagine him perched on the big windowsill over our kitchen sink.

I spotted him on a cluttered shelf at the local Goodwill. I picked him up, turned him around, cocked my head at him a little, and wondered how a firebird, I mean rooster, could hold my attention for so long. My practical side told me he was too zaney and redneck, to put him down slowly and walk away. But there was just something about him, (I still don't know what), and I couldn't leave him behind.

He needed some touching up. So out came the leftover lime green paint from Asher's nursery project. It's "503 Yellow Citron" by Folk Art (from Walmart for about $1.50), if you're wondering.


Speaking of Asher, he had his first try at finger painting. He was in my lap during this little project, and it only took him about two minutes to grab my cup of paint and do a little "creating" of his own.


Awwwww...grubby, painty, baby fingers.


And here he is! Mean and green. I was going for a contrasting pop of color that would stand out next to the coral and red curtains, plus pick up on the other lime green accents throughout the living and dining room. Although sometimes I think I might like him white again... He may have another makeover coming his way, eventually.

Oh! I almost forgot...want to guess how much he set me back? $1.50.

- - - - - - - - - - - - - - - - -

P.S. See more fun thrift store finds here and here.

P.S.S. On a more serious note, a search of the word "rooster" on Blue Letter Bible turned up this verse:

Jesus said to him, "Assuredly, I say to you that this night, before the rooster crows, you will deny Me three times." {Mathew 26:34}

So here's another opportunity to remember and meditate on God's word. Just like I'll remember the call to obey His commands every time I see the tassel in the laundry room (from yesterday's post), I'll try to remember this verse when I see my rooster in the kitchen. In order to actively pursue a life of faithful obedience and proclaim Christ rather than deny Him, I need as many reminders as I can get!

- - - - - - - - - - - - - - - - -

Like it? Share it!
 

Hang Curtains for Less


Who's hung curtains lately?

When we moved into our Georgia home last fall, one of the first things I noticed we'd need was curtain rods. And if you've looked lately (or ever) you know that they ain't cheap. Not the decorative ones, at least. And with more than a panel or two to hang, we were looking at hundreds of dollars for standard decorative rods.

Well, you know me. When it comes to cash, I don't drop it like it's hot. I'd much rather hold onto it until it's burned a whole in my pocket. And because we'd need at least nine rods to hang curtains in the main parts of the house (living space and bedrooms), that would add up quickly when you consider that the cost of one rod is about $20-30. The longest ones can even get into the $50 range. But for the sake of the discussion, let's just say they're $20 a piece. $20x9 rods=$180. And that's just way to much to ever conceive spending.

So, I racked my brain for a way to hang our curtains without breaking the bank. And then it hit me; spray-paint!


Well, spray-paint + cheap rods. I can't remember how the idea struck, but Ross- the discount retailer- was the first place I went to make it happen. If anybody was selling rods at a deal, it was them. I'm a bronze fan when it comes to hardware. I like the rich, warm, antiqued feel of it. (You might have noticed that the spray-paint top and the actual rod in the first photo look black, but they're actually a dark metallic brown). Anyway, Ross' big chunky rods weren't much less than the ones at Lowes, but they did have quite a few thinner ones in a variety of finishes- silver, brass, black, etc.

This is where spray paint comes in. These thinner (but still very nice) rods were only $6 a pop. And it didn't matter that four were silver, two were black, and three were brass. With a little Rustoleum spray paint and a couple hours time, they were all bronze and ready for hanging!


So let's talk cost: $6x9= $54. Which admittedly still seems like a lot, (to me at least), but it's much less than $180. And, I have the long-term in mind. I've counted up the number of windows, hence rods, we'll need for the ranch house when we move there. And we almost have enough! These here are definitely going with us, and it's nice to know that we'll get years and years of use out of them.

Unfortunately I don't have pictures from the day of the undertaking, but here's a tip I gleaned from the experience. If you lay the rods out on a large piece of cardboard, you can easily paint the rods and hardware at the same time by poking the screws into the cardboard so that they're standing up. You don't want a silver screw standing out against a bronze rod.

I was so excited to stumble upon this creative way to save money. Have any of you guys had a similar light-bulb-on! moment lately?

Like it? Share it!


- - - - - - - - - - - - - - - - -

Every good gift and every perfect gift is from above, and comes down from the Father of lights, with whom there is no variation or shadow of turning.
James 1:17

Before & After: A Snazzy & Sophisticated Dining Room

Happy Friday! I just wanted to share this amazing dining room transformation that was done by a couple of friends of ours- thanks for letting me brag on you, John and Ashley! (A little background- John and Thane spent some "quality" time together at VMI. Oh, the good old days.)

So take a look at this "before" photo:


Got the idea? Now here are a few "work in progress" shots:


Notice the wallpaper is beginning to come down. Bye-bye!


Next came the carpet removal.


Can you guess who's responsible for this little mess?

This cutey pie! But it's okay, he gave a very sincere apology...


 Okay, ready for the new look? Let's see the "before" one more time.


And here's the "after". This is truly amazing.

..................................

Ta da!!!


Magic, right?!

Well, not exactly, clearly there was a lot of skill that went into this stunning renovation! Here are a few more beautiful photos to feast your eyes on:


I immediately asked Ashley where they found their new dining set (which they got on sale). Thane and I are in the market for one as well, and this one tickles every inch of my fancy. But unfortunately this one comes from a local store, so our search goes on. Oh, I almost forgot, notice the new chandelier in the mirror? It was a hand-me-down that they spray painted black. Spray paint doesn't get enough credit for how diversely it can be used!


The flooring is Pergo's "Stained Oak", and the paint is Home Depot's Behr Premium Plus Ultra, in "Cherry Tart" and "Silver Screen". The trim and chair rail are "Decorator White". They were originally planning on using a cream color for the upper portion of the walls (to match the chair upholstery), but decided on silver at the last minute. They fell in love with it, and so did I. Isn't it fun to see your family and friends successfully pick gorgeous paint colors? Not only is it great for them, but then you get a chance to snag the same color but without the guess work. If they don't mind you copping their style, that is.


I was just informed that curtains have been purchased for the windows! Hopefully there will be a photo of them to come.

Thanks again John and Ashely for letting us take a peak into your home!

Thane and I can't wait till we're in this stage of home building. You can see the very beginning stages of our dining room here, (it's the red room) but don't expect to be wowed again. One day though, God willing of course... :)


Paint; Our Color Palette + B&A Shots!


Paint, paint, paint. Talk about some tough decision making! It's taken me four years to nail down our color palette. I don't know how many color swatches I've snagged from home improvement stores since our building project kicked off, but the count is in the hundreds at least. I guess I've become sort of a paint swatch fanatic. I'll grab swatches on non-paint-related shopping trips for colors that we really have no plans for using. But you never know. (And the fact that they're free is very encouraging.) But after much time (might I say years?) of swatch-grabbing, color comparison, deliberation, hemming and hawing, whining, and then more deliberation, here's our palette. (Note: We haven't chosen a shade of peacock blue yet, hence the "?" on the blue block.)
Our color palette- see it on the walls below!
  
Pittsburgh Paint is the brand we use. There's nothing special about the brand as far as we can tell, it's just what our nearest supplier in South Dakota happens to carry.

Speaking of suppliers, here's a helpful tip; if you're planning on doing a lot of painting either all at once or over time, negotiate a bulk discount rate. By doing this ourselves, we get a high quality line of paint for cheaper than what we'd pay at Walmart for a standard line. What if we find a color from another brand that we want? Most (if not all) paint suppliers can match any color for no extra fee. In fact, the color we'll be buying the most of, Tuscan Tan, had to be matched. You just have to know the brand, line, and the manufacturer of the color you want so that your local hardware knows who to call for the formula. This information is usually on any color swatch, so just have it on hand when you go to get your paint mixed. Sometimes you'll also need to know which store your swatch came from. There are certain private label lines carried by only one store, like Lowe's, for instance, and your paint supplier may need that information in order to know who to call for the formula.

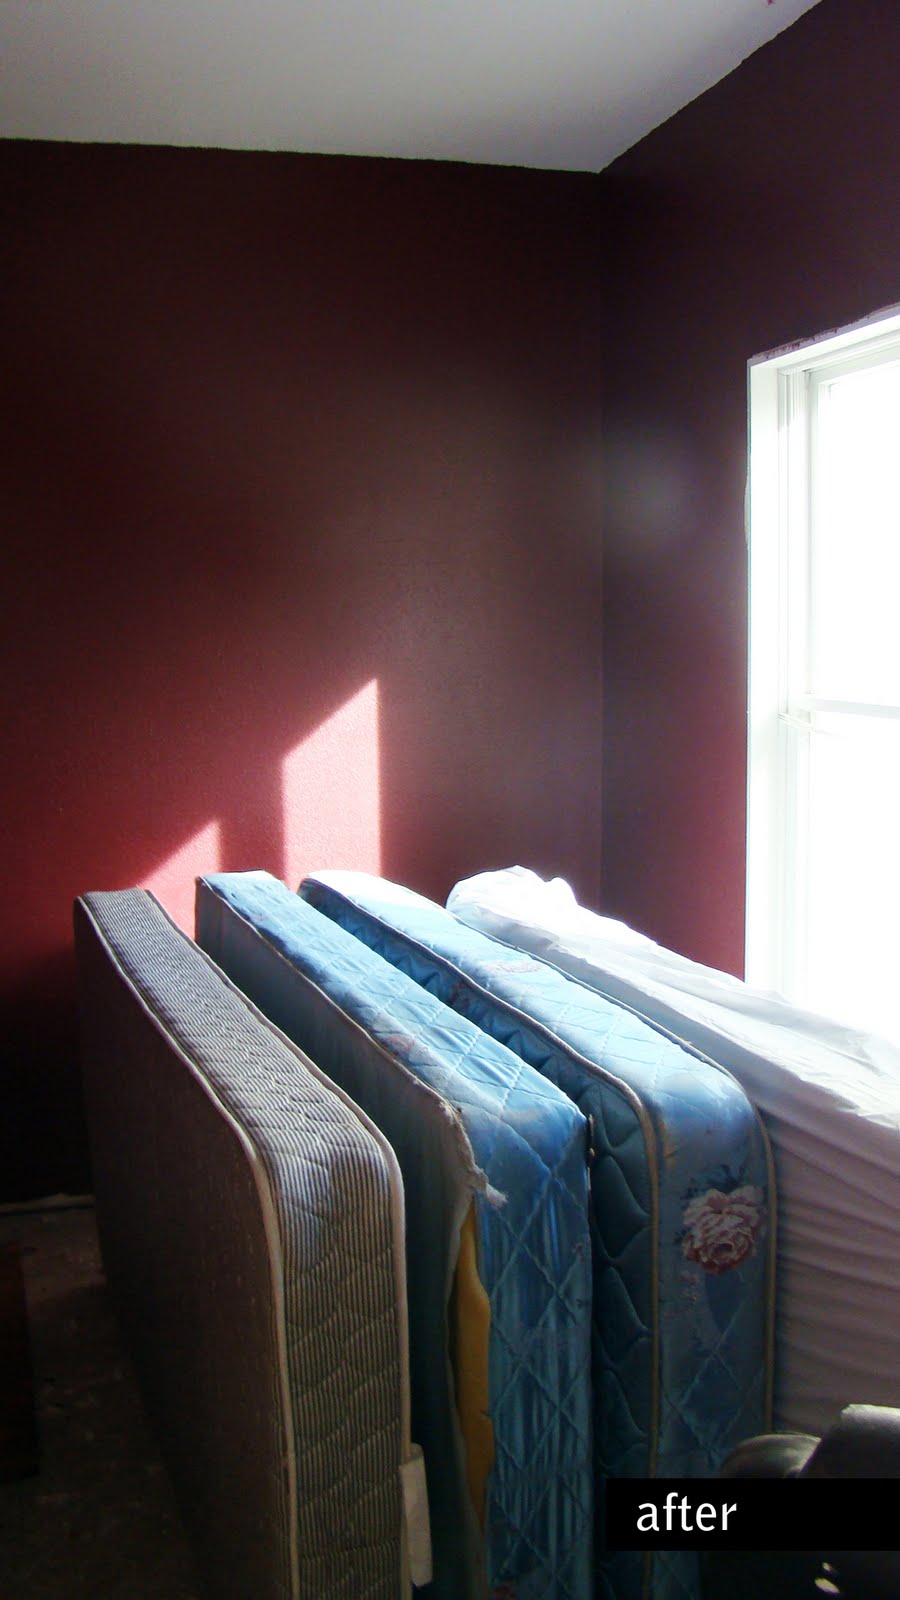
But enough talk, let's see some walls! Here are some before and after paint shots of our house. (Although "after" implies that these rooms are finished, which is far from the case, but you understand. Also, please excuse the construction mess and the old ratty mattresses that are also featured here, haha!)

Sitting & Dining Room

 Study

Second stairway in Great Room (partially finished)
 

Kitchen

Master bedroom


Master Bathroom

Upstairs hallway

So there's our progress with paint so far. As far as our palette goes, the only thing left is to find a perfect shade of peacock blue (suggestions?). As far as the physical painting itself, the fat lady is far from singing.

Anybody try any bold or unusual colors on their walls lately? Or even a neutral one you really love? We all know it's quite a gamble to chose a color based on those little 2x2 swatches, and so helpful to get tried and true tips!

Pillows & Paint

The pillow monster has struck again. (Not to be confused with the cookie monster, although that title could be applied to me as well). If we were at home in Georgia, I'd create a photo journal of my collection of decorative pillows and there would be no explanation necessary. But since we're in Kentucky, I'll just tell you that pillows are one of my absolute favorite home decor accessories, and I probably have an average of 3.4 per room. However, I've never paid more than $8 for one before now (thanks to Ross)...


So I'm allowed this one splurge. These Pier1 beauties were on clearance (woo-hoo!), and I'd had my eye on them for months. They just so happen to have all of the paint colors of our ranch house, and they match the Lee Chapel painting we have hung in our living room in Georgia now. Not to mention the fact that they're gorgeous! Normally I'd happily settle for $8 dollar ones over the much more expensive Pier1 selection (even their clearance items are way higher than Ross). But after happening upon these on the clearance shelf yesterday, I just had to go for it. What's the fun in life if you don't treat yourself every now and then?


As I mentioned above, these pillows happen to have a lot of the exact same colors we've used in our house. Here's a quick mock-up of our ranch home color scheme. (Before & After photos of these rooms are coming soon!)
We haven't actually painted any room peacock blue yet, (hence the ? mark), but it's in the works. (We've got an unproportionately large second bedroom thanks to Thane and I's on-the-spot spontaneous wall building with no blueprints or plan, and I think a dark color like this blue will help "shrink" it down a little. Besides that, I just really like it and want to incorporate it into the house somewhere.)


But back to the pillows, they'll go in our Nettle and Rum Raisin sitting & dining combo room. The dark plum pillow will pick up on our little study across the hall that's painted Red Red Wine, and the orange will match our Canyon Sun kitchen. So it should all tie in together seamlessly, or that's the goal at least. I've been very conscience of choosing paint colors that are complimentary, especially since they're all so bold. I want to walk into the house and enjoy beautiful colors, not have a spazz attack. The great thing about paint is you can always experiment knowing it's not permanent or an expensive fix should you make a mistake.

Until they reach their ultimate destination at the ranch house, these satiny guys will live on Thane and I's bed.


By the way, for those of you mommas with little ones who love to see new things and bright colors, Pier1 is the place to go! (Assuming their little hands can be kept to themselves). I "wore" Asher in the store with me using his Jeep carrier to avoid navigating the stroller through those tight aisles, and he absolutely loved all of the bold colors and interesting shapes. We may have to make another visit for his sake... :)
Related Posts Plugin for WordPress, Blogger...